
Level Up Your Leveling Game w/ Trap Jesus
Leveling is 80% of the mixing process…how is your leveling game?
TRAP JESUS’ MIXING TIPS PART 1: Leveling
Leveling is the most basic and perhaps most overlooked area of audio engineering. Paired with subtractive EQ (the subject of my next article), proper leveling will solve many mix issues. So before you max out your credit card and then your CPU on VSTs, take a minute to level your leveling skills up a level or two… LEVEL!

My basic philosophy with leveling is start with the most important (loudest) elements in the song first and work my way down to the background sounds, but there are a few things to do before you start.
PRE LEVEL CHECKLIST:
BYPASS MASTER FX
To start, make sure there are no FX active on the master insert section (compression, saturation, limiting, etc). Leveling should usually be done before applying any master FX.
LOOP THE DROP
Set a loop around the most dense section of your song, usually the hook or the drop. You’ll want subs, drums and leads happening for sure.
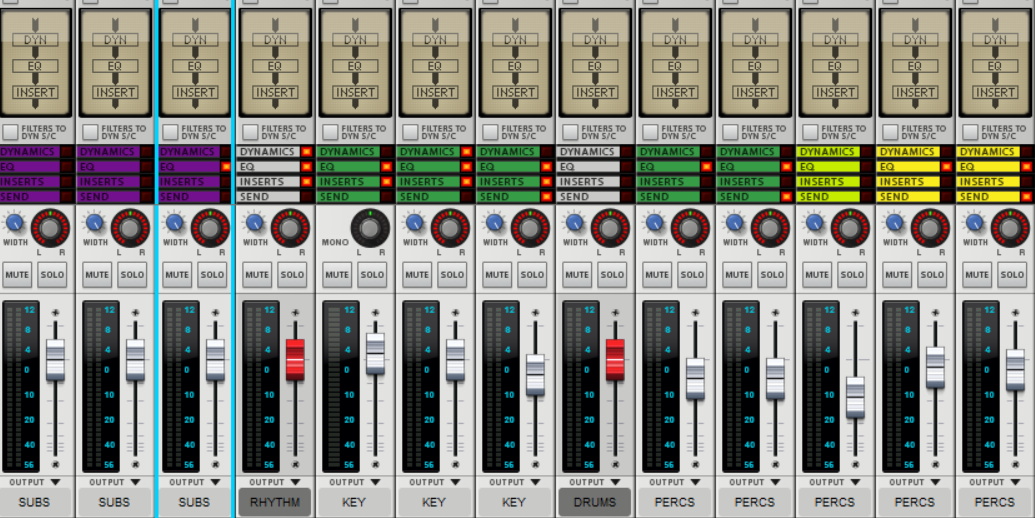
ZERO THE MIXER
Turn all of your faders down to zero. [Reason sidebar: you can observe good gain staging practices and turn down the input gain knob too. That’s the knob marked GAIN all the way at the top of each mixer channel. When doing this level up the fader first, then the gain knob if you get up to 0dB on the fader.]
LEVELING UP
ALWAYS LEVEL “BOTTOM UP”
Remember to level each track in from the bottom up, not from the top down. Turning a sound down in the mix always makes it sound less present, therefore “worse.” Any time I drastically change a sound with EQ or FX I drop the channel volume back down to zero and bring it back up into the mix, listening for how the new balance of the sound fits into the overall song.
KICK FIRST

Start with the kick and bring it up til it’s hitting around -6 to -8dB on the master meter. In modern music the kick is the loudest element, nothing in your mix should make a louder peak on the master meter than your kick.
MIX AT LOW VOLUME
Turn your speakers down pretty quiet, but so you can still clearly hear the kick. Ear fatigue sets in over time while listening at high volume, so you will be less accurate at gauging balance with the speakers cranked.
SUBS LOWER THAN KICK
Bring the sub up so you can hear it, but the kick stands out. The kick should be about 6 to 8dB louder than the sub when each one is soloed, so by itself the sub will hit about -12dB to -16dB on the master meter. At this point use the kick as the side chain key to compress the sub. This way the sub will duck out of the way every time the kick happens. For this side chain compression I use the fastest available attack settings and release settings around 100ms.
SNARE
Bring up the snare until it feels balanced with the kick. Hopefully that will be a similar level to the kick when soloed (-8dB or so). If the snare feels way too loud but it is not reaching the same levels on the master meter some EQ may be in order. You may have an excess of high mid frequencies in the “pain zone” (around 2kHz-5kHz) and not enough low mids to give your snare “roundness.” If this is the case use subtractive EQ in the pain zone then turn the snare track up til it feels balanced. Remember also that mixing is always genre dependent. House music layers a soft clap on top of kicks, and some trap songs purposefully roll off the lower end of the snare. Know why you are making each move.

LEADS
Bring up the vocals, lead synth and mid basses til they are audible but don’t mask the previous elements.
BACKGROUND ELEMENTS
Bring in the rest of your elements one by one in order of importance to your song, groove and genre.
KILL YOUR PUPPIES
Sometimes in this process you’ll find that some of the last sounds you are leveling in are not improving, or are even ruining, the clarity or feeling of the song. This is a sign that this sound is not necessary, at least not in this section. That’s OK, you can take it out. It may be useful in another section, it may not.

Remember: The little sounds you made are not what’s important, writing a SONG is important. If a little sound is hurting the song then it needs to go. Don’t be precious with these sounds; mute, chop and delete them as necessary. As cute as they may be on their own, they are not puppies, they are sound clips. Feel free to kill them at will.
IMPORTANT NOTES:
REFERENCE
From time to time during the process listen to songs in the same genre as the track you’re mixing that you know to sound good across many sound systems. Turn the song down to match volume with your DAW so you can A/B compare your levels against theirs.
– Does your kick have the same weight and volume as theirs?
– Does your snare cut through like theirs?
– Are your subs as present as theirs but not washing out the kick?
– Do your leads stand out as bright and present as theirs, etc?
ONE “SINGER” AT A TIME
ill.Gates teaches his students that when listening to music we hear two things: the Singer… and the Band. Only one sound at a time can be the “singer” or star of the show, while the rest of the sounds work together to support the “singer” or “lead.” If any support element is stepping in front of the “star of the moment” there are a few ways to fix it:
– Push support tracks to the back of the mix by lowering the volume, adding reverb and/or low pass filtering (cutting out high frequencies).
– Look at your lead sound in a spectrum analyzer and note the most prominent frequencies. Now go to your support sound and pull those same frequencies out using a bell EQ.
– Help lead tracks “sit on top of the mix” by cutting the lows with a shelf EQ and turning the track up, as well as adding high end distortion, saturation or excitement.
A song can have multiple leads, but they must take turns. This is more of an arrangement issue than a leveling/mixing issue, but in the sequencer you can create open “checkerboard” spaces for the lead to sit in. Start by cutting out unnecessary notes in the support elements. Are all those hi hats and piano notes really helping, or are they cluttering? Also, cutting off reverb and release tails from one lead when the next begins will really open up space for the new lead to ring out clearly.
DON’T WAIT
I’ve had students that assumed leveling had to be done at the end of the process: it doesn’t. Leveling can be done all throughout the mixing process. Plus, the more you do it the better you will get, so don’t be afraid to do it multiple times per track. I level as I go, then when my arrangement is coming together I follow that checklist I gave you above. Then, when I’m ready to move to the final phase of the song process (Phase 3 of 3), I bounce all my remaining MIDI sounds to audio, import them into a new session and level them again. In a future article I will describe the system of busses, groups, sidechain compression and parallel compression techniques I have set up in my personal Mixing Template.
Thanks for reading! Check back here for more production tips soon, and if you want to learn even more about music production click here for Producer Dojo class options:
https://members.producerdojo.com/aff-luke-r
